
If you’ve ever found yourself daydreaming about the chewy delight of mochi, you’re not alone. This Japanese treat has a magical way of making any dessert lover weak in the knees. But why settle for store-bought when you can channel your inner kitchen wizard and whip up a batch at home? It’s easier than you think, and your taste buds will thank you.
Imagine the satisfaction of crafting that perfect, pillowy texture right in your own kitchen. Plus, you can fill it with whatever your heart desires—sweet red bean paste, ice cream, or even chocolate. Get ready to impress friends and family with your newfound culinary skills. Who knew making mochi could be this fun? Grab your apron and let’s dive into the world of homemade mochi, where the only limit is your imagination (and maybe your pantry).
Ingredients Needed
Making mochi at home requires a few essential ingredients. The right components ensure the treat achieves its signature chewy texture and delightful flavor.
Glutinous Rice
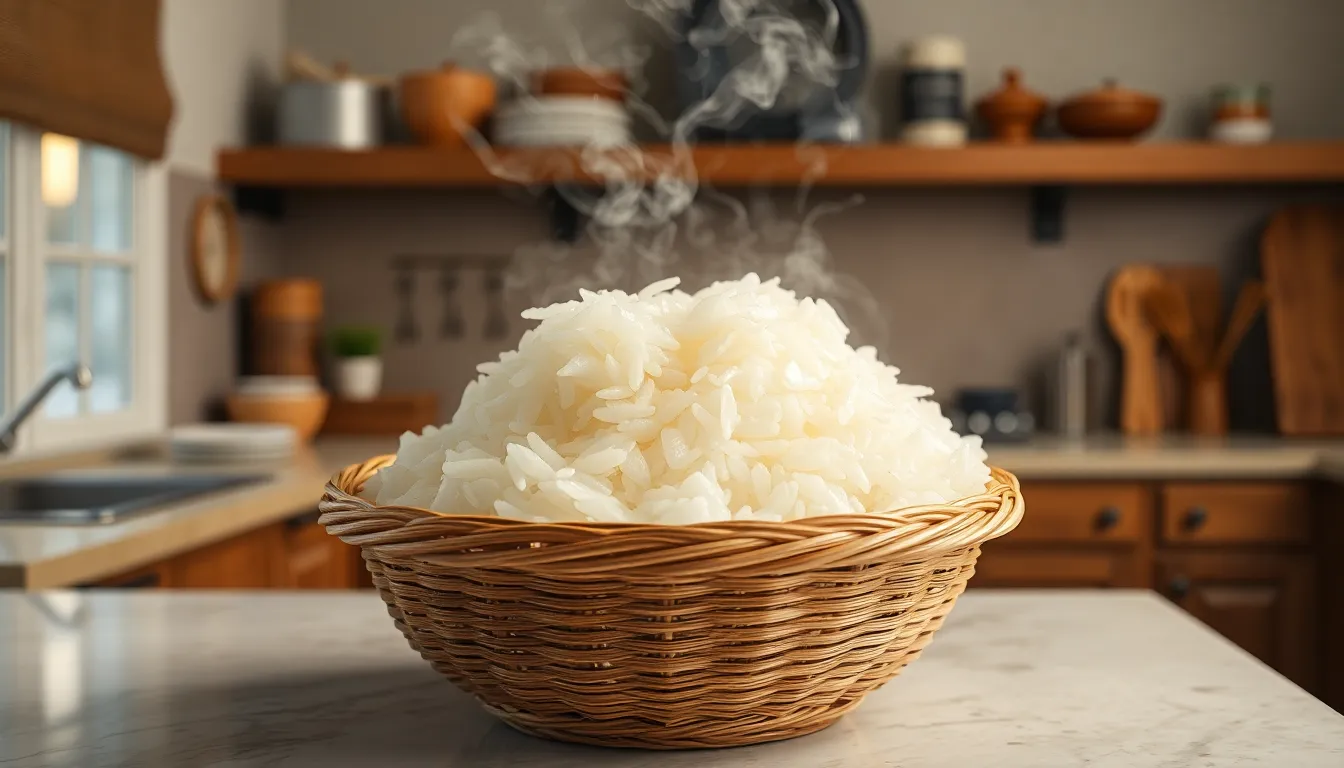
Glutinous rice serves as the primary ingredient. This type of rice, also known as sticky rice or sweet rice, provides a unique texture fundamental to mochi. Look for mochiko, a finely ground glutinous rice flour, for ease of preparation. Using 2 cups of mochiko yields about ten to twelve pieces of mochi. Water, around 1 cup, hydrates the flour and creates the dough.
Fillings Options
Fillings add flavor and variety to mochi. Popular choices include sweet red bean paste, fruit, ice cream, or chocolate. These fillings can be tailored to suit different tastes. For example, 1 cup of sweet red bean paste pairs well with the chewy outer layer. Ice cream, including flavors like matcha or strawberry, provides a rich contrast to the mochi shell.
Equipment Required
Tools simplify the mochi-making process. A mixing bowl, measuring cups, and a microwave or steamer are essential. A wooden spoon or spatula helps blend the ingredients. Using a clean work surface encourages easy shaping of the mochi. Wax paper provides a non-stick surface for storing the finished pieces.
Preparing the Rice
Preparing the rice is crucial for achieving the perfect mochi texture. The process involves soaking and steaming glutinous rice to ensure it becomes soft and sticky.
Soaking the Rice
Soaking the rice enhances its texture and makes it easier to work with. A minimum of 8 hours offers better results, but soaking overnight provides optimal hydration. Choose a container large enough to allow the rice to expand. After soaking, rinse the rice under cool water to remove excess starch. This step helps prevent clumping during cooking. Maintaining the right soaking time directly impacts the mochi’s chewiness.
Steaming the Rice
Steaming the rice transforms it into a pliable base for mochi. Using a steamer basket lined with cheesecloth or parchment paper optimizes the process. Fill the steamer with water and bring it to a simmer. Then, place the rinsed rice in the basket and steam for 30 to 45 minutes. Ensure the rice becomes translucent and sticky as it cooks. Fluff the rice gently with a spatula post-steaming to enhance its elasticity. Steamed rice is the foundation for creating delightful, chewy mochi.
Making the Mochi Dough
Making the mochi dough requires precision and care to achieve a perfect consistency. This process includes mixing ingredients and kneading the dough.
Mixing Ingredients
Mochiko, the primary ingredient, combines with water to create the dough. Use 1 cup of mochiko and 1 cup of water for a basic batch. He or she should stir the mixture in a bowl until no lumps remain. After mixing, the batter should have a smooth texture. Optionally, adding sugar can enhance sweetness. The mixture is then ready for steaming, ensuring a chewy final product.
Kneading the Dough
Kneading transforms the mixture into elastic dough. After steaming for 30 to 45 minutes, allow the dough to cool slightly. Once it’s cool enough to handle, transfer it to a floured surface. Use hands to knead the dough for about 5 to 10 minutes. During this time, it’s essential to incorporate additional mochiko to prevent sticking. The final result should be smooth and pliable, setting the stage for shaping delightful mochi.
Forming the Mochi
Creating the shape of mochi requires precision and creativity. Begin with portions of the cooled dough, roughly the size of a golf ball.
Shaping Techniques
Using your hands, flatten each piece of dough into a disk shape. He or she can create a smooth surface by dusting fingers with mochiko during this step. Next, they should press from the center to the edges, ensuring a consistent thickness. Rounding the edges provides a more traditional appearance. This shape is vital for even cooking and easy handling. She or he can experiment with different thicknesses for various textures, ensuring their creativity shines through in the final product.
Adding Fillings
After shaping the dough, it’s time to incorporate fillings. He or she should place 1-2 teaspoons of their chosen filling in the center of each disk. Carefully encase the filling by pinching the edges of the dough together. Sealing tightly prevents any filling from leaking during cooking. Should they wish, they can roll the filled dough into a ball for a neat presentation. This flexibility allows for endless variations, accommodating personal tastes and favorite ingredients.
Tips for Perfect Mochi
Achieving perfect mochi at home requires precision and attention to detail. Following some essential tips can elevate the results significantly.
Common Mistakes to Avoid
Many home cooks overlook the soaking time for glutinous rice. Failing to soak for at least 8 hours leads to insufficient hydration, producing dry mochi. Rushing through the steaming process is another frequent error. Steaming for less than 30 minutes results in undercooked rice that lacks the desired chewiness. Avoid using too much water in the mochiko mixture. Excess moisture creates a gooey texture instead of a smooth dough. It’s also important not to skip the kneading step, as this develops gluten, enhancing the mochi’s elasticity. Remember, pinching the edges securely prevents fillings from leaking during cooking.
Storage Tips
Storing mochi properly keeps it fresh and prevents drying out. Wrapping each piece in plastic wrap ensures moisture retention and extends shelf life. An airtight container in the refrigerator is ideal for short-term storage, lasting up to one week. For longer preservation, freezing mochi works wonders; just separate each piece with parchment paper to avoid sticking. When ready to enjoy, thaw at room temperature or heat briefly in the microwave. Always be cautious with reheating; overdoing it can alter the texture and make it rubbery.
Making mochi at home is a rewarding experience that allows for creativity and personalization. With just a few simple ingredients and some basic equipment, anyone can master this delightful treat. The joy of experimenting with different fillings and flavors makes each batch unique and special.
By following the outlined steps and avoiding common pitfalls, home cooks can achieve the perfect chewy texture that mochi is known for. Whether enjoyed fresh or stored for later, homemade mochi offers a satisfying taste of tradition right in the kitchen. So gather the ingredients and let the mochi-making adventure begin.